
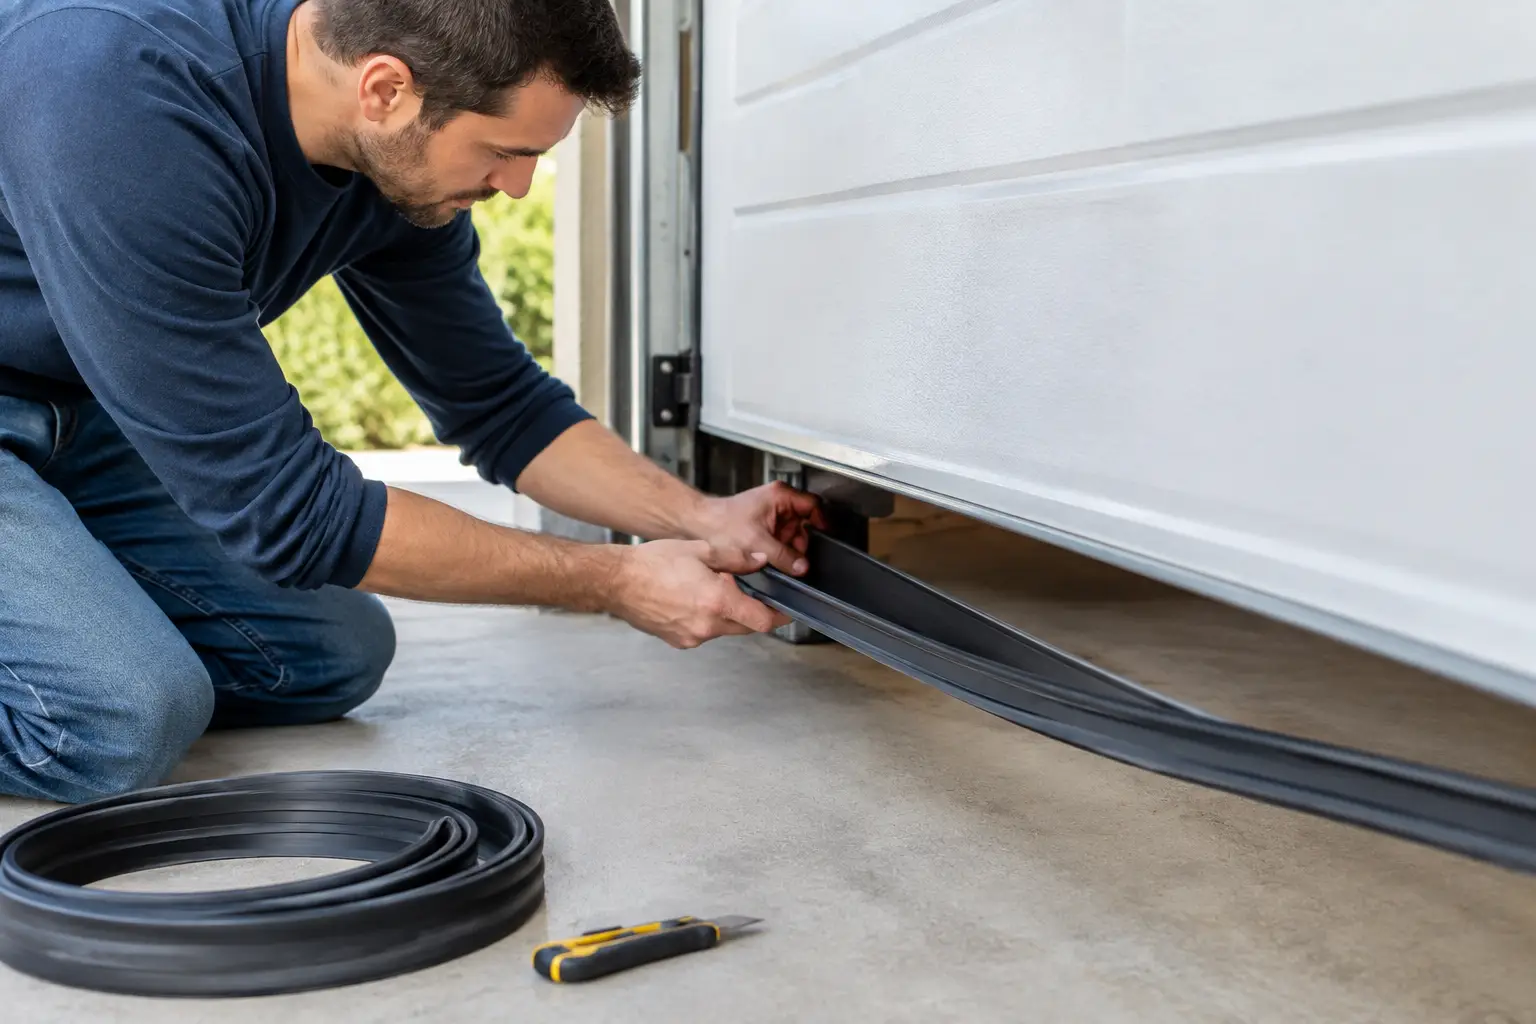
A garage door can look closed and still leave a gap big enough for cold air, rain, leaves, and mice. Knowing how to replace garage weatherstripping helps you fix that weak spot before it turns into a wet, drafty, less secure garage. For Longmont homeowners, a worn seal is especially noticeable when wind pushes dust under the door or snowmelt finds its way across the floor.
Weatherstripping is a manageable DIY job when the door is operating normally and the old seal is the only problem. But if the door is crooked, binding, damaged, or leaving uneven gaps, replacing the rubber alone will not solve it. That calls for a garage door inspection first.
Know Which Garage Door Seal Needs Replacing
Most residential garage doors use more than one type of weatherstripping. The bottom seal attaches to the bottom edge of the door and compresses against the concrete when the door closes. This is the piece most homeowners mean when they say their garage door seal is worn out.
Side and top weatherstripping, often called stop molding, is mounted to the garage door frame. It presses lightly against the outside face of the closed door. If daylight shows around the sides or top, or wind-driven rain is getting in there, this trim may need adjustment or replacement.
Look at the old material before buying anything. Bottom seals come in several profiles, including T-style, bead-end, bulb, and U-shaped seals. The correct replacement depends on the aluminum or metal retainer mounted along the bottom of your door. A seal that is too narrow will pull loose. One with the wrong end style may not slide into the retainer at all.
Also check the garage floor. A seal cannot make up for a severely uneven slab. It can handle small dips and normal variation, but a large crack, heaved section, or low spot may leave a gap even with a new seal installed.
Tools and Materials to Have Ready
For a typical bottom-seal replacement, gather the following before you start:
- Replacement bottom seal that matches your existing retainer
- Tape measure and utility knife or heavy-duty scissors
- Flat screwdriver, pliers, and a drill or driver if screws are involved
- Silicone spray or a small amount of soapy water for a tight channel
- Work gloves, eye protection, and a helper for wide or heavy doors
For side and top stop molding, you will also need replacement vinyl trim, exterior-rated screws or nails, and a driver or hammer. Choose weatherstripping made for garage doors rather than general-purpose foam tape. Foam tape often fails quickly in the sun, cold, and repeated door movement.
How to Replace Garage Weatherstripping at the Bottom
Start with the garage door fully closed. Do not work on a door that is partly open, and do not disconnect springs, cables, or the opener for this job. Garage door springs and cables are under high tension and should only be handled by a trained technician.
Measure the door width and buy a seal that is slightly longer than the door. The extra length gives you room to trim cleanly after installation. A 16-foot door, for example, needs a seal a few inches longer than 16 feet.
Remove the Old Seal
Find where the old seal enters the bottom retainer. On many doors, the seal slides out from one end of the track. You may need to remove an end screw, straighten a crimped piece of metal, or use pliers to open the track slightly.
Pull the old seal out slowly. If it is brittle or stuck, cut it into shorter sections with a utility knife rather than yanking hard on the retainer. Bending the retainer can make the new seal difficult to install.
Once the old material is out, clean the channel. Brush out dirt, dried leaves, old rubber pieces, and rust. Check for sharp edges, loose screws, or bent sections. A damaged retainer may need replacement before a new seal will sit correctly.
Slide in the New Seal
Lay the new weatherstripping flat in the sun for a few minutes if the day is warm. This softens stiff rubber and reduces twisting. On cold days, keep the seal indoors before installation so it is easier to handle.
Feed the correct end of the seal into the retainer channel. It helps to have one person guide the seal at the channel while another pulls it evenly across the door. Do not stretch it tight. Rubber contracts in cold weather, and an overstretched seal can pull away from the ends later.
If the seal drags, use a light spray of silicone lubricant inside the track or a little soapy water. Avoid petroleum-based products, which can damage some rubber and vinyl materials over time.
Pull the seal through until it extends past both ends of the door. Trim the excess with a sharp utility knife, leaving just enough material to fill the width without bunching. Reinstall any end screws or gently crimp the ends of the retainer so the seal cannot slide out.
Test the Door and the Seal
Run the door through a full open-and-close cycle. Watch the bottom seal as it meets the floor. It should compress across the width of the opening without folding under or dragging excessively.
From inside the garage with the lights off, look for daylight at the bottom corners. A small amount of light may point to an uneven floor, not a failed installation. Check that the door closes level, too. If one side hits the floor before the other, the issue may be with the door, track, cables, or opener settings.
Replacing Side and Top Weatherstripping
Frame-mounted weatherstripping is usually easier to identify than to install correctly. The vinyl flap should make contact with the door when closed, but it should not be crushed so tightly that it drags during operation.
With the door closed, remove the old stop molding one section at a time. Use the old piece as a rough guide for cutting the replacement, but measure the opening as well. Wood frames can shift over time, especially after moisture and temperature changes.
Install the top piece first, then the side pieces. Position the flexible vinyl flap so it rests against the door face. Fasten it lightly at first, then test the door. Adjust the trim until the door seals without rubbing hard against the vinyl. Once it is positioned properly, secure the remaining fasteners.
This is one of those jobs where tighter is not always better. Too much pressure can cause the weatherstrip to curl, wear out faster, or make the opener work harder than it should.
Common Problems That a New Seal Will Not Fix
New weatherstripping is worthwhile when the old rubber is cracked, flattened, torn, missing, or no longer touching the floor. It will not fix a garage door that has mechanical problems.
Call for service if you notice the door is uneven, noisy, shaking, reversing before it closes, or rubbing against the tracks. The same applies if the bottom retainer is badly bent, the door has a broken panel, or the opener is straining. Trying to force a door into alignment can create a larger repair and a safety risk.
In Longmont, wind, sun exposure, and seasonal temperature swings can wear seals faster than homeowners expect. Check the bottom seal each spring and fall, clear debris from the threshold, and keep the track area clean. A quick look before winter can prevent the cold-air gap that makes the garage and rooms above it harder to heat.
If you have installed a new seal and still see gaps or water coming in, the problem is worth diagnosing instead of guessing. Repair Bro's provides local garage door service in Longmont with free estimates, so you can get a clear recommendation before committing to a repair. A properly closing door should feel simple: it opens when needed, closes level, and keeps the outside where it belongs.